The Public Website Builder provides standard content blocks for webpage creation. For added flexibility, users can customize content blocks to incorporate additional features by using the "Design a content block" feature.
📽️Video: Watch how easy it is to create a Custom Content Block here. See more details below:
Why would I need a customize content block?
FLEXIBILITY! A customizable content block allows you to make create a content block so that you can make changes whenever you need to edit the layout or elements. For instance, you can create a block with a layout that works for the content you want to add. With a customizable content block you can always go back and add in another feature or switch out that image for a different one. The beauty of a customizable block lies in its openness to change, unlike standard content blocks, where your tweaks are confined to the elements within that block.
Of course, if you find a standard content block that works for the content that you need to include on a page, you can simply use that one.
Standard versus Customizable Content Blocks
Look for the tool icon in the upper left corner of the screen. If present, the block can be customized.
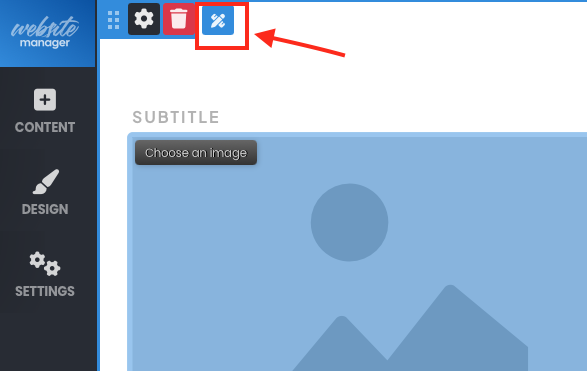
If the tool icon is not visible, the content block is not customizable, and you will not be able to add new elements or alter the layout.
Create a content block
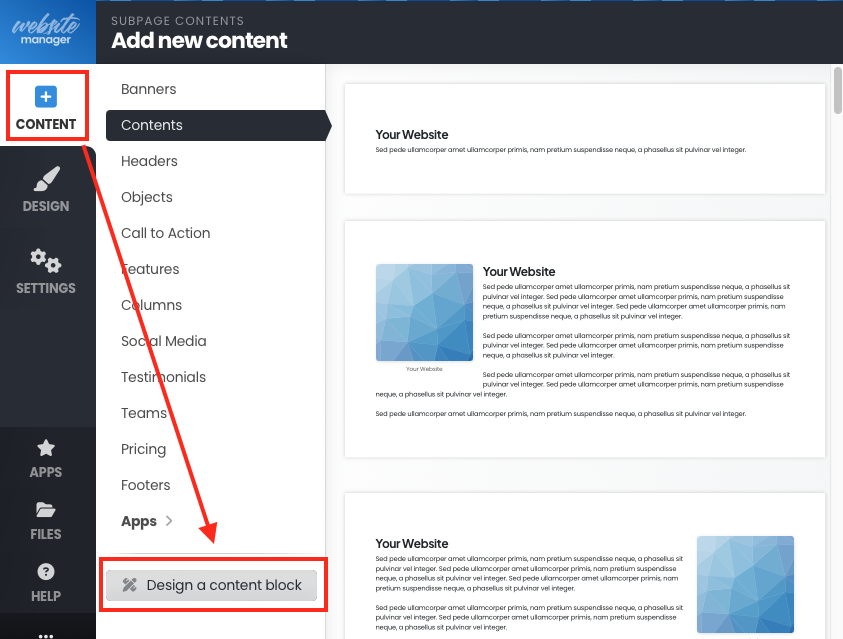
Design a block - Click "+Content" in the left menu, then click "Design a content block" at the bottom of the sub-menu.
Add image
Determine block layout - This brings up a screen with a basic customizable content block. Hover over the elements in the block to see the elements includes - you'll see 2 columns: the left column with a header, text and buttons, and the right column with an image. Determine what content and layout you would like for the block.
IMPORTANT! When designing the layout of your content block it is important to think in terms of columns. For example, if you would like to create a section of the webpage that included a centered header and then 2 photos side by side, that would mean you would create 2 custom content blocks: 1 custom content block for the header (that would be in 1 column) and one custom content block for the 2 photos (2 columns.)
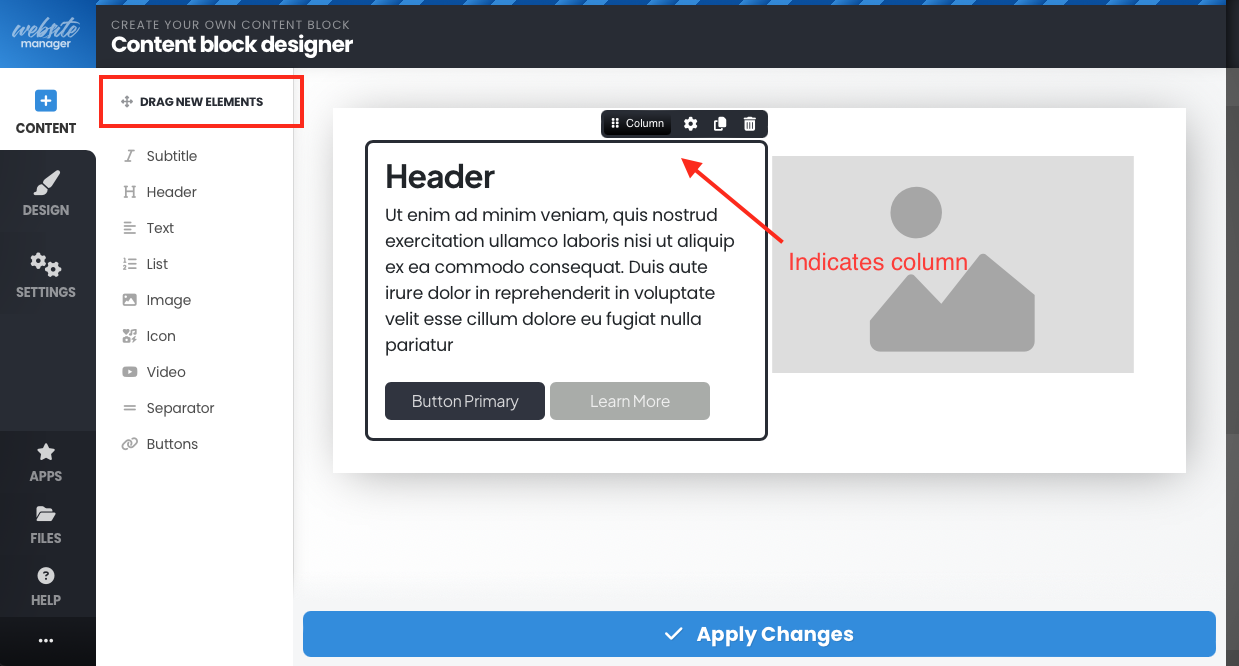
Delete and drag elements - Now you can delete elements and also drag new elements from the sub-menu onto the block. The cursor will show a blue line when you have the element in a location where it can be place. Once you are happy with the elements and layout, make sure to click "Apply Changes".
Position new block on the webpage - The new content block will be inserted at the top of the web page where you were working. To move your content block to another part of the page, click and hold the 6 dots in the upper left of the block and move it down to the desired location.
Note: Customized content blocks can be duplicated and can be reused on the same page or a different page.
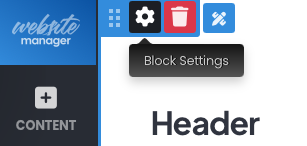
To duplicate a content block, click the gear in the upper left in the content block:Then click "Duplicate". Choose to put the copy of the content block on the same page or another subpage:

Once you get the hang of selecting, dragging and dropping onto the content block, you'll be set to quickly create the blocks that meet your needs.