If your webpage does not include a menu bar at the top of your website do the following to add one:
Click "Design" and then click "More Settings".
Select the "Header Menu Bar" button.
Click "Save changes". A menu bar will show at the top of your webpage.
To make changes to the menu bar, click on the menu bar at the top of the page.
Click the "Edit Menu Bar" button that shows in the middle bottom of the menu bar.

Under the "Items list", in the first text box, add the text that you would like to appear in the menu bar.
Tip: Keep your text concise and somewhat short - like a short sentence or bullet point.Click address, phone and email to change or delete those items. Click the "trash" icon to delete any of the items that you don’t need. If you decide to include any of those items back in, simply click the item in the left menu and drag it over to the right menu and drop it to the location that you want it to appear in the Items list.
Click "Center" to center the menu information. Unclick to left justify the text.
Click "Social Networks" to show social media network icons in the menu to the right.
If you choose to include social network icons, you’ll need to go to "Settings", click Social Media:
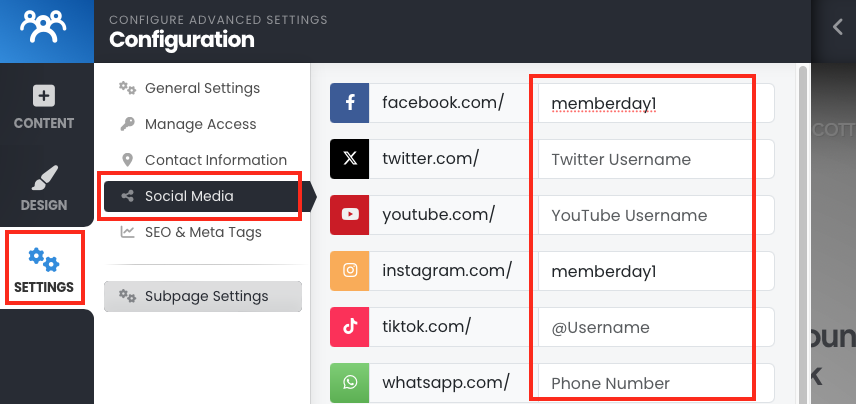
In the list of social networks, enter your club's social media page name.
For example, to get to the MemberDay.com Facebook page, the url is facebook.com/memberday1. I entered “memberday1”. You would enter your club's social media name.At the bottom of the list select “Show Social Icons in Header" and then click "Save changes".
Click "Close" button, to include a close (x) button on the right to allow your viewer to close the menu bar.
Click "Save changes".
*Similar instructions are shown in the "Link to Social Media Networks" article.